<< Prev Question Next Question >>
Question 5/15
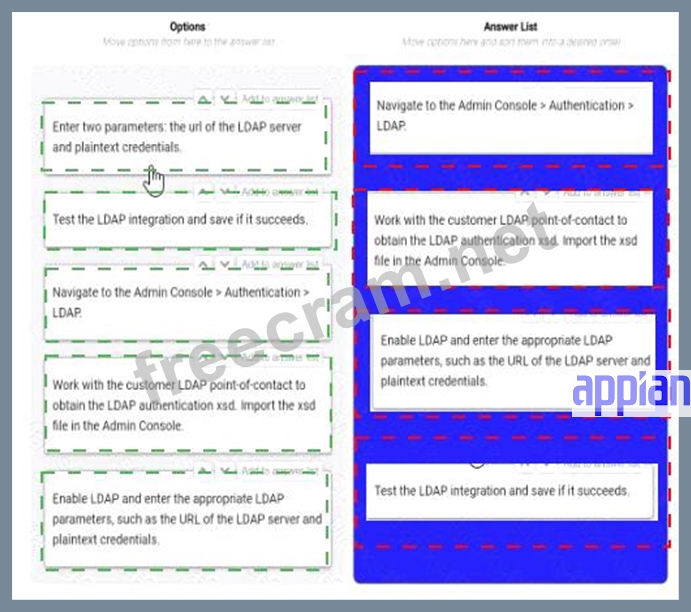
You are selling up a new cloud environment. The customer already has a system of record for Its employees and doesn't want to re-create them in Appian. so you are going to Implement LDAP authentication.
What are the next steps to configure LDAP authentication?
To answer, move the appropriate steps from the Option list to the Answer List area, and arrange them in the correct order. You may or may not use all the steps.
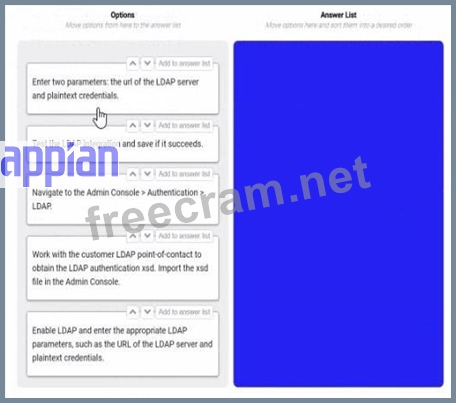
What are the next steps to configure LDAP authentication?
To answer, move the appropriate steps from the Option list to the Answer List area, and arrange them in the correct order. You may or may not use all the steps.