<< Prev Question Next Question >>
Question 15/36
DRAG DROP
You have an Azure subscription that contains an Azure virtual machine named VM1. VM1 runs Windows Server 2016 and is part of an availability set.
VM1 has virtual machine-level backup enabled.
VM1 is deleted.
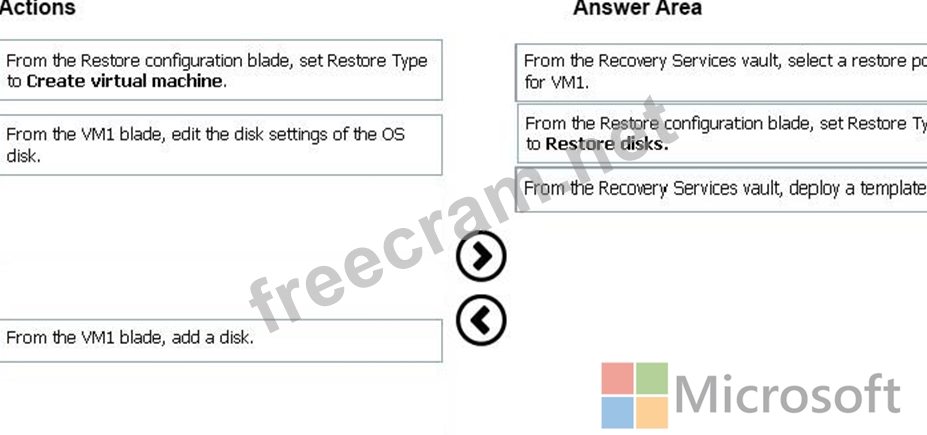
You need to restore VM1 from the backup. VM1 must be part of the availability set.
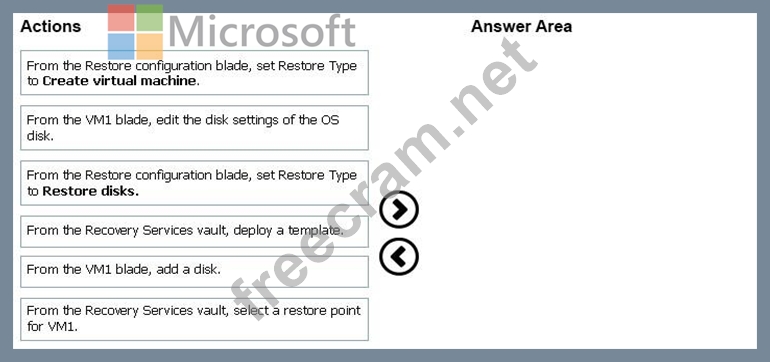
Which three actions should you perform in sequence? To answer, move the appropriate actions from the list of actions to the answer area and arrange them in the correct order.
Select and Place:
You have an Azure subscription that contains an Azure virtual machine named VM1. VM1 runs Windows Server 2016 and is part of an availability set.
VM1 has virtual machine-level backup enabled.
VM1 is deleted.
You need to restore VM1 from the backup. VM1 must be part of the availability set.
Which three actions should you perform in sequence? To answer, move the appropriate actions from the list of actions to the answer area and arrange them in the correct order.
Select and Place: