Valid D-PVM-OE-01 Dumps shared by EduDump.com for Helping Passing D-PVM-OE-01 Exam! EduDump.com now offer the newest D-PVM-OE-01 exam dumps, the EduDump.com D-PVM-OE-01 exam questions have been updated and answers have been corrected get the newest EduDump.com D-PVM-OE-01 dumps with Test Engine here:
Access D-PVM-OE-01 Dumps Premium Version
(156 Q&As Dumps, 35%OFF Special Discount Code: freecram)
<< Prev Question Next Question >>
Question 6/24
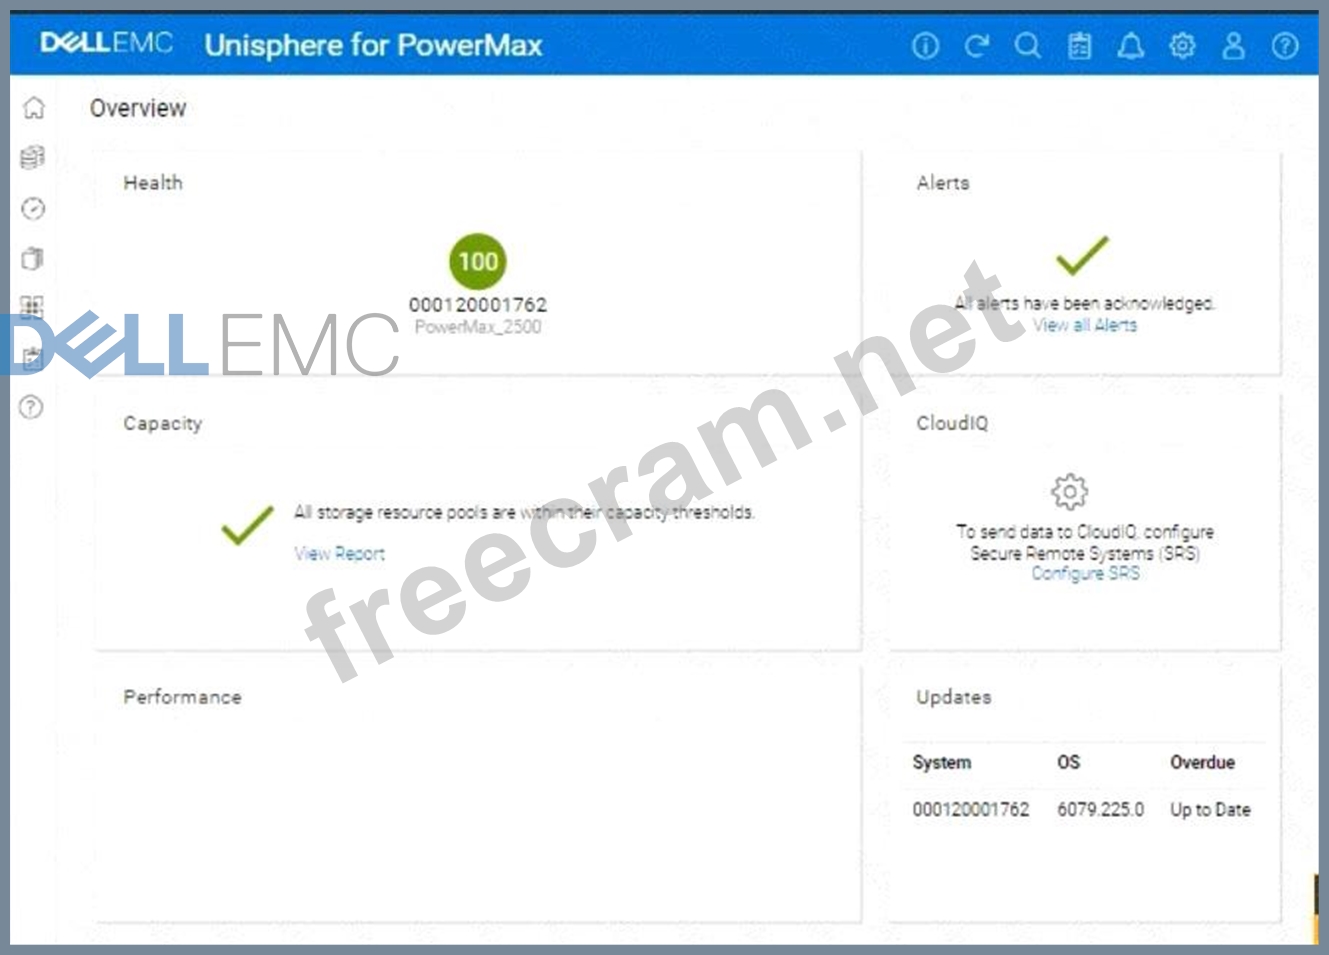
The customer has successfully completed a Non-Disruptive Migration.
Use the simulator to verify migration sessions and remove the migration environment.
Use the simulator to verify migration sessions and remove the migration environment.
Correct Answer:
See the explanation for step by step solution.
Explanation:
Okay, I understand. The task is to verify the completion of Non-Disruptive Migrations (NDM) and then remove the migration environment using the Unisphere for PowerMax simulator.
Here's a step-by-step guide on how to do this, based on typical Unisphere functionality and the context of the question:
Steps:
1. Launch the Simulator and Navigate to the Migration Section
* Open Unisphere for PowerMax in your web browser.
* Log in to the simulator.
* In the left-hand navigation pane, locate the section related to migrations. This is usually under either:
* Data Mobility
* Migration
* Expand the relevant section and click onMigrations(or a similar option like "Local Migrations" or
"NDM"). This will take you to the view where you can manage Non-Disruptive Migrations.
2. Verify Migration Session Status
* The Migrations view will list all current and past migration sessions.
* Look for the following status indicators to confirm that the migrations have completed successfully:
* Status:The status should typically be "Completed," "Cutover Complete," or a similar status indicating successful completion.
* Progress:If a progress bar or percentage is shown, it should be at 100% or show that all data has been synchronized.
* Important:If any sessions are still in a "Running," "Synchronizing," or other non-completed state, do not proceed with removing the migration environment. Wait for them to complete.
3. Select Completed Migrations for Removal
* Once you've verified that all relevant migration sessions are successfully completed, select the sessions that you want to remove.
* You can usually select sessions by:
* Clicking a checkbox next to each session.
* Clicking on the session itself (if the interface allows it).
4. Remove the Migration Environment
* After selecting the completed migration sessions, look for an action button or menu option to remove them. This might be labeled:
* "Remove"
* "Delete"
* "Cleanup"
* "Remove Session"
* Click the appropriate button to initiate the removal process.
* Confirmation:You will likely be prompted with a confirmation message to make sure you want to remove the selected migration sessions. Verify that you have selected the correct sessions and confirm the removal.
5. Verify Removal (Optional)
* After the removal operation completes, the Migrations view should refresh.
* Verify that the migration sessions you removed are no longer listed.


- Question List (24q)
- Question 1: Your organization is preparing for a major software update, ...
- Question 2: What are two characteristics of a SnapVX Clone?...
- Question 3: A Storage Group is serving host read/write I/O. The Storage ...
- Question 4: A company is setting up a multi-tenant environment where mul...
- Question 5: A PowerMax array has been added to the environment. As part ...
- Question 6: The customer has successfully completed a Non-Disruptive Mig...
- Question 7: A systems administrator plans to use Non-Disruptive Migratio...
- Question 8: What is the maximum capacity per array in a PowerMax 8500?...
- Question 9: What function can a storage administrator enable on the Port...
- Question 10: Which three device types can be managed using Solutions Enab...
- Question 11: What is an update operation in SRDF on PowerMax arrays?...
- Question 12: From an application perspective, what should be done before ...
- Question 13: What are two characteristics of a SnapVX Linked Target?...
- Question 14: What function does the storsrvd daemon support?...
- Question 15: What function can a storage administrator enable on the Port...
- Question 16: On a PowerMax array, what is the default Dynamic I/O distrib...
- Question 17: Place the steps to create a snapshot in Unisphere for PowerM...
- Question 18: Place the steps in the correct order for performing a Non-Di...
- Question 19: A storage administrator is using SE 10 to query a PowerMax 2...
- Question 20: Your organization is planning to expand its data center capa...
- Question 21: What is the largest TDEV PowerMaxOS 5978 can create?...
- Question 22: Which services are active after a Unisphere for PowerMax ins...
- Question 23: Refer to the exhibit. (Exhibit) What is the topology shown1?...
- Question 24: Which tasks can a storage administrator manage from the Data...
